Configuring Your Accounting Settings
Your Accounting Settings are the engine of your company's automated bookkeeping in Leapcount. By setting default accounts here, you ensure that every transaction you create—like an invoice or a bill—is automatically recorded in the correct place in your financial statements.
Properly configuring these settings is a crucial one-time step that will save you countless hours and reduce manual errors down the road. You can find these settings by navigating to Settings > Accounting Settings.
Full Accounting vs. Simple Mode
The interactivity of this page depends on your company's selected accounting mode.
Full Accounting Mode
In this mode, you have complete control over your accounting setup. You can customize every default account, either manually or with the help of our AI assistant. This mode is designed for users who need granular control over their bookkeeping processes.
Simple Mode
In this mode, the accounting process is simplified. The default accounts are pre-configured with standard settings and are read-only. You can view these settings to understand how transactions are being recorded behind the scenes, but you cannot edit them. This is ideal for users who want accurate bookkeeping without needing to manage the detailed configuration.
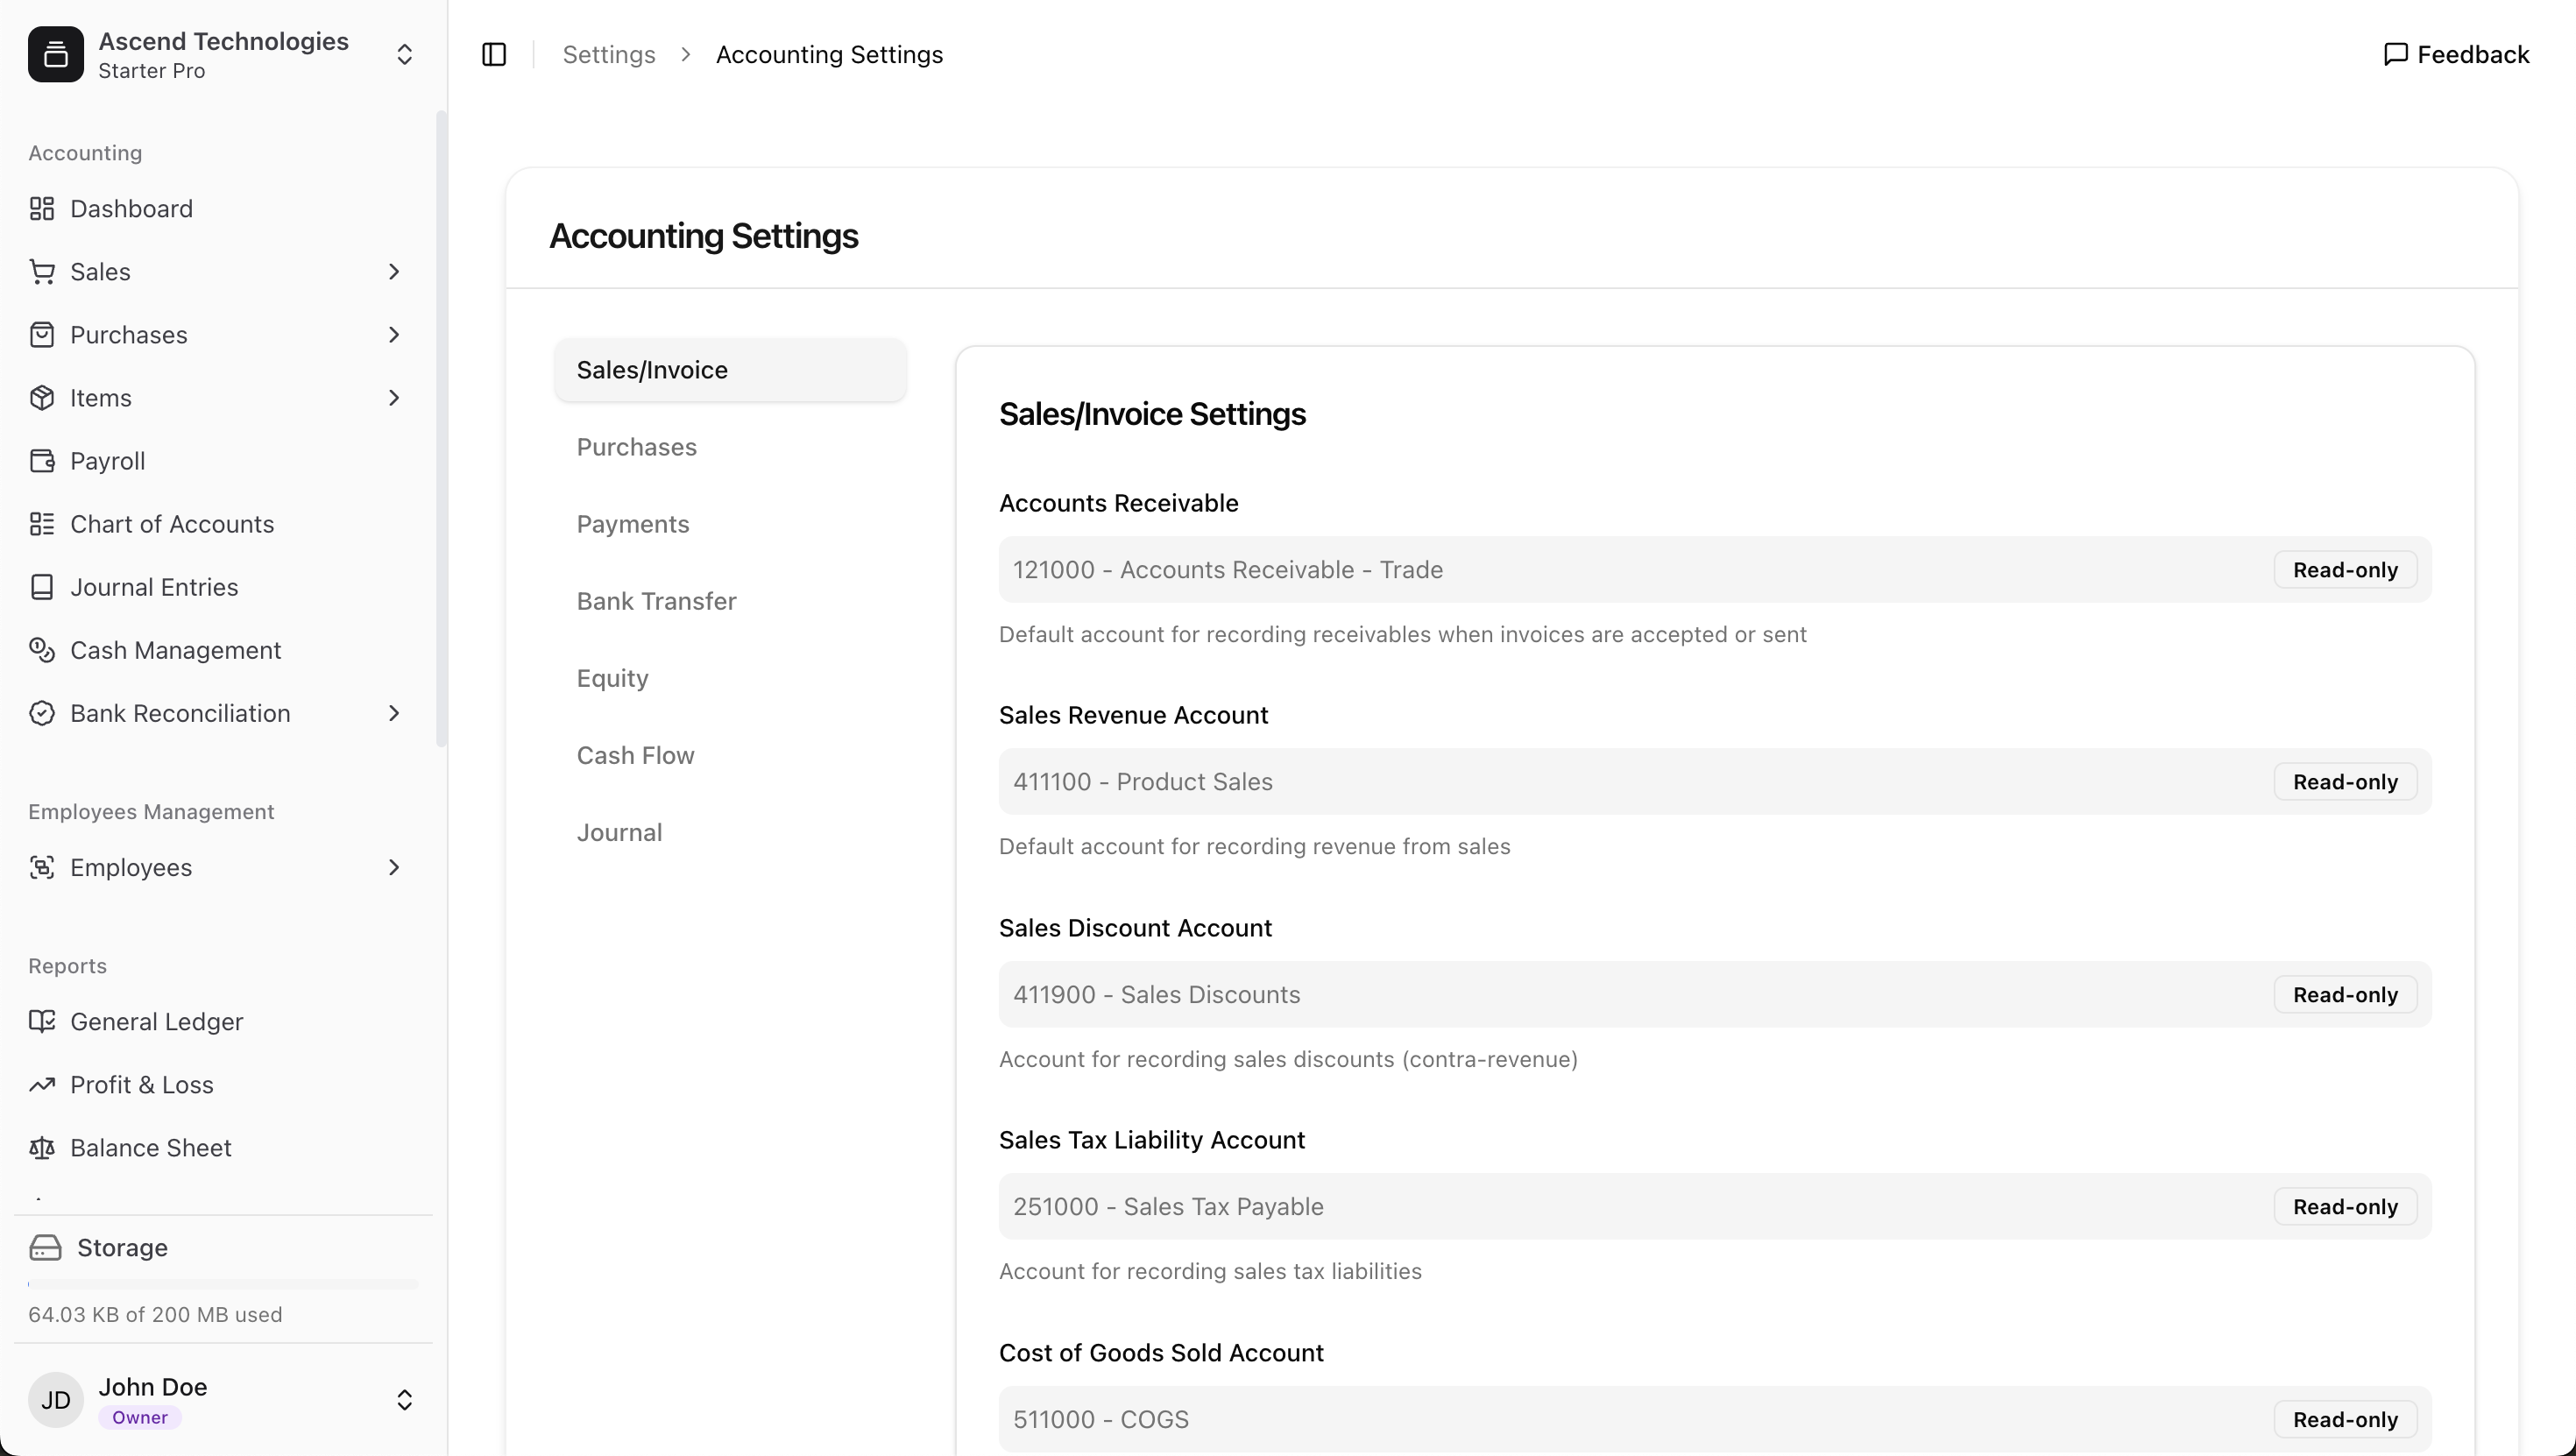
The following configuration options are available for users in Full Accounting mode.
Using Auto-fill with AI
To make this setup process faster and easier, you can use our AI assistant to map your accounts. This is highly recommended, especially if you have a well-named Chart of Accounts.
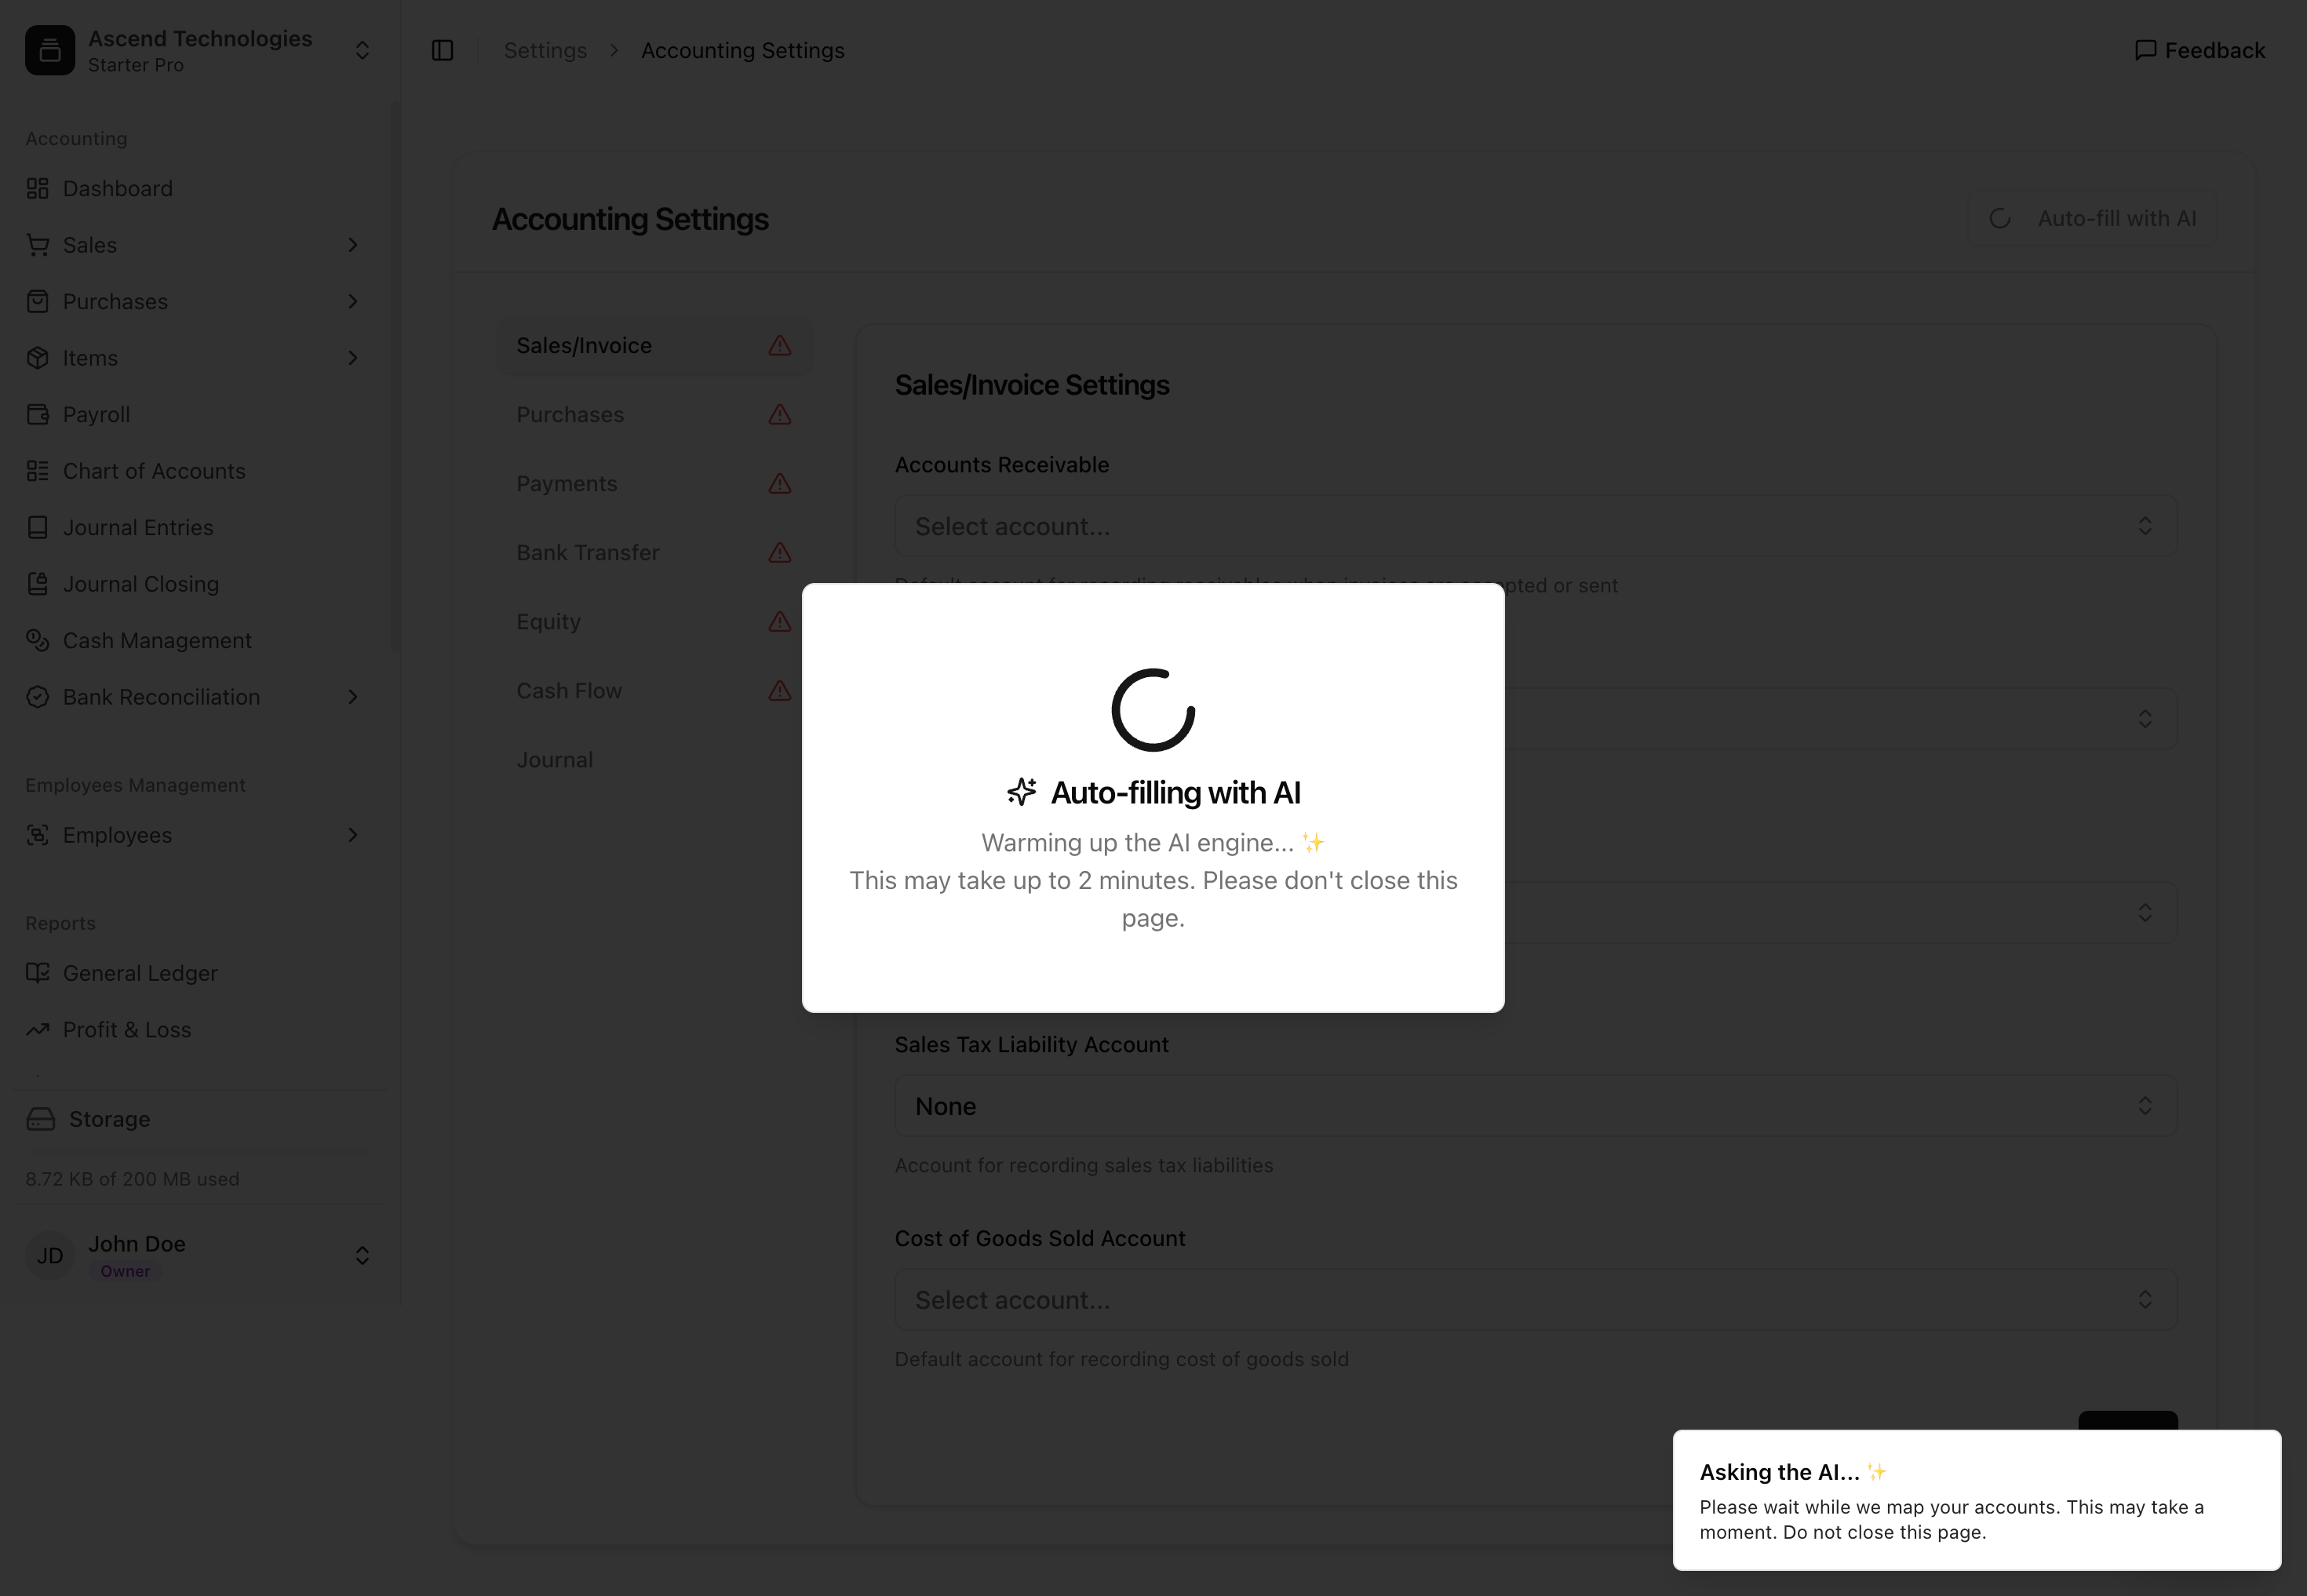
Step 1: Initiate the AI
Click the Auto-fill with AI button at the top right of the page. The system will begin analyzing your Chart of Accounts to find the best matches for each field.
Step 2: Review and Complete the AI's Suggestions
After a few moments, the AI will populate the fields it has high confidence in. The Auto-fill with AI is a powerful helper, but it's designed to get you started, not to complete the process for you.
It is crucial to review every field. As shown in the yellow notification box, the AI may not be able to find a suitable match for every required setting.
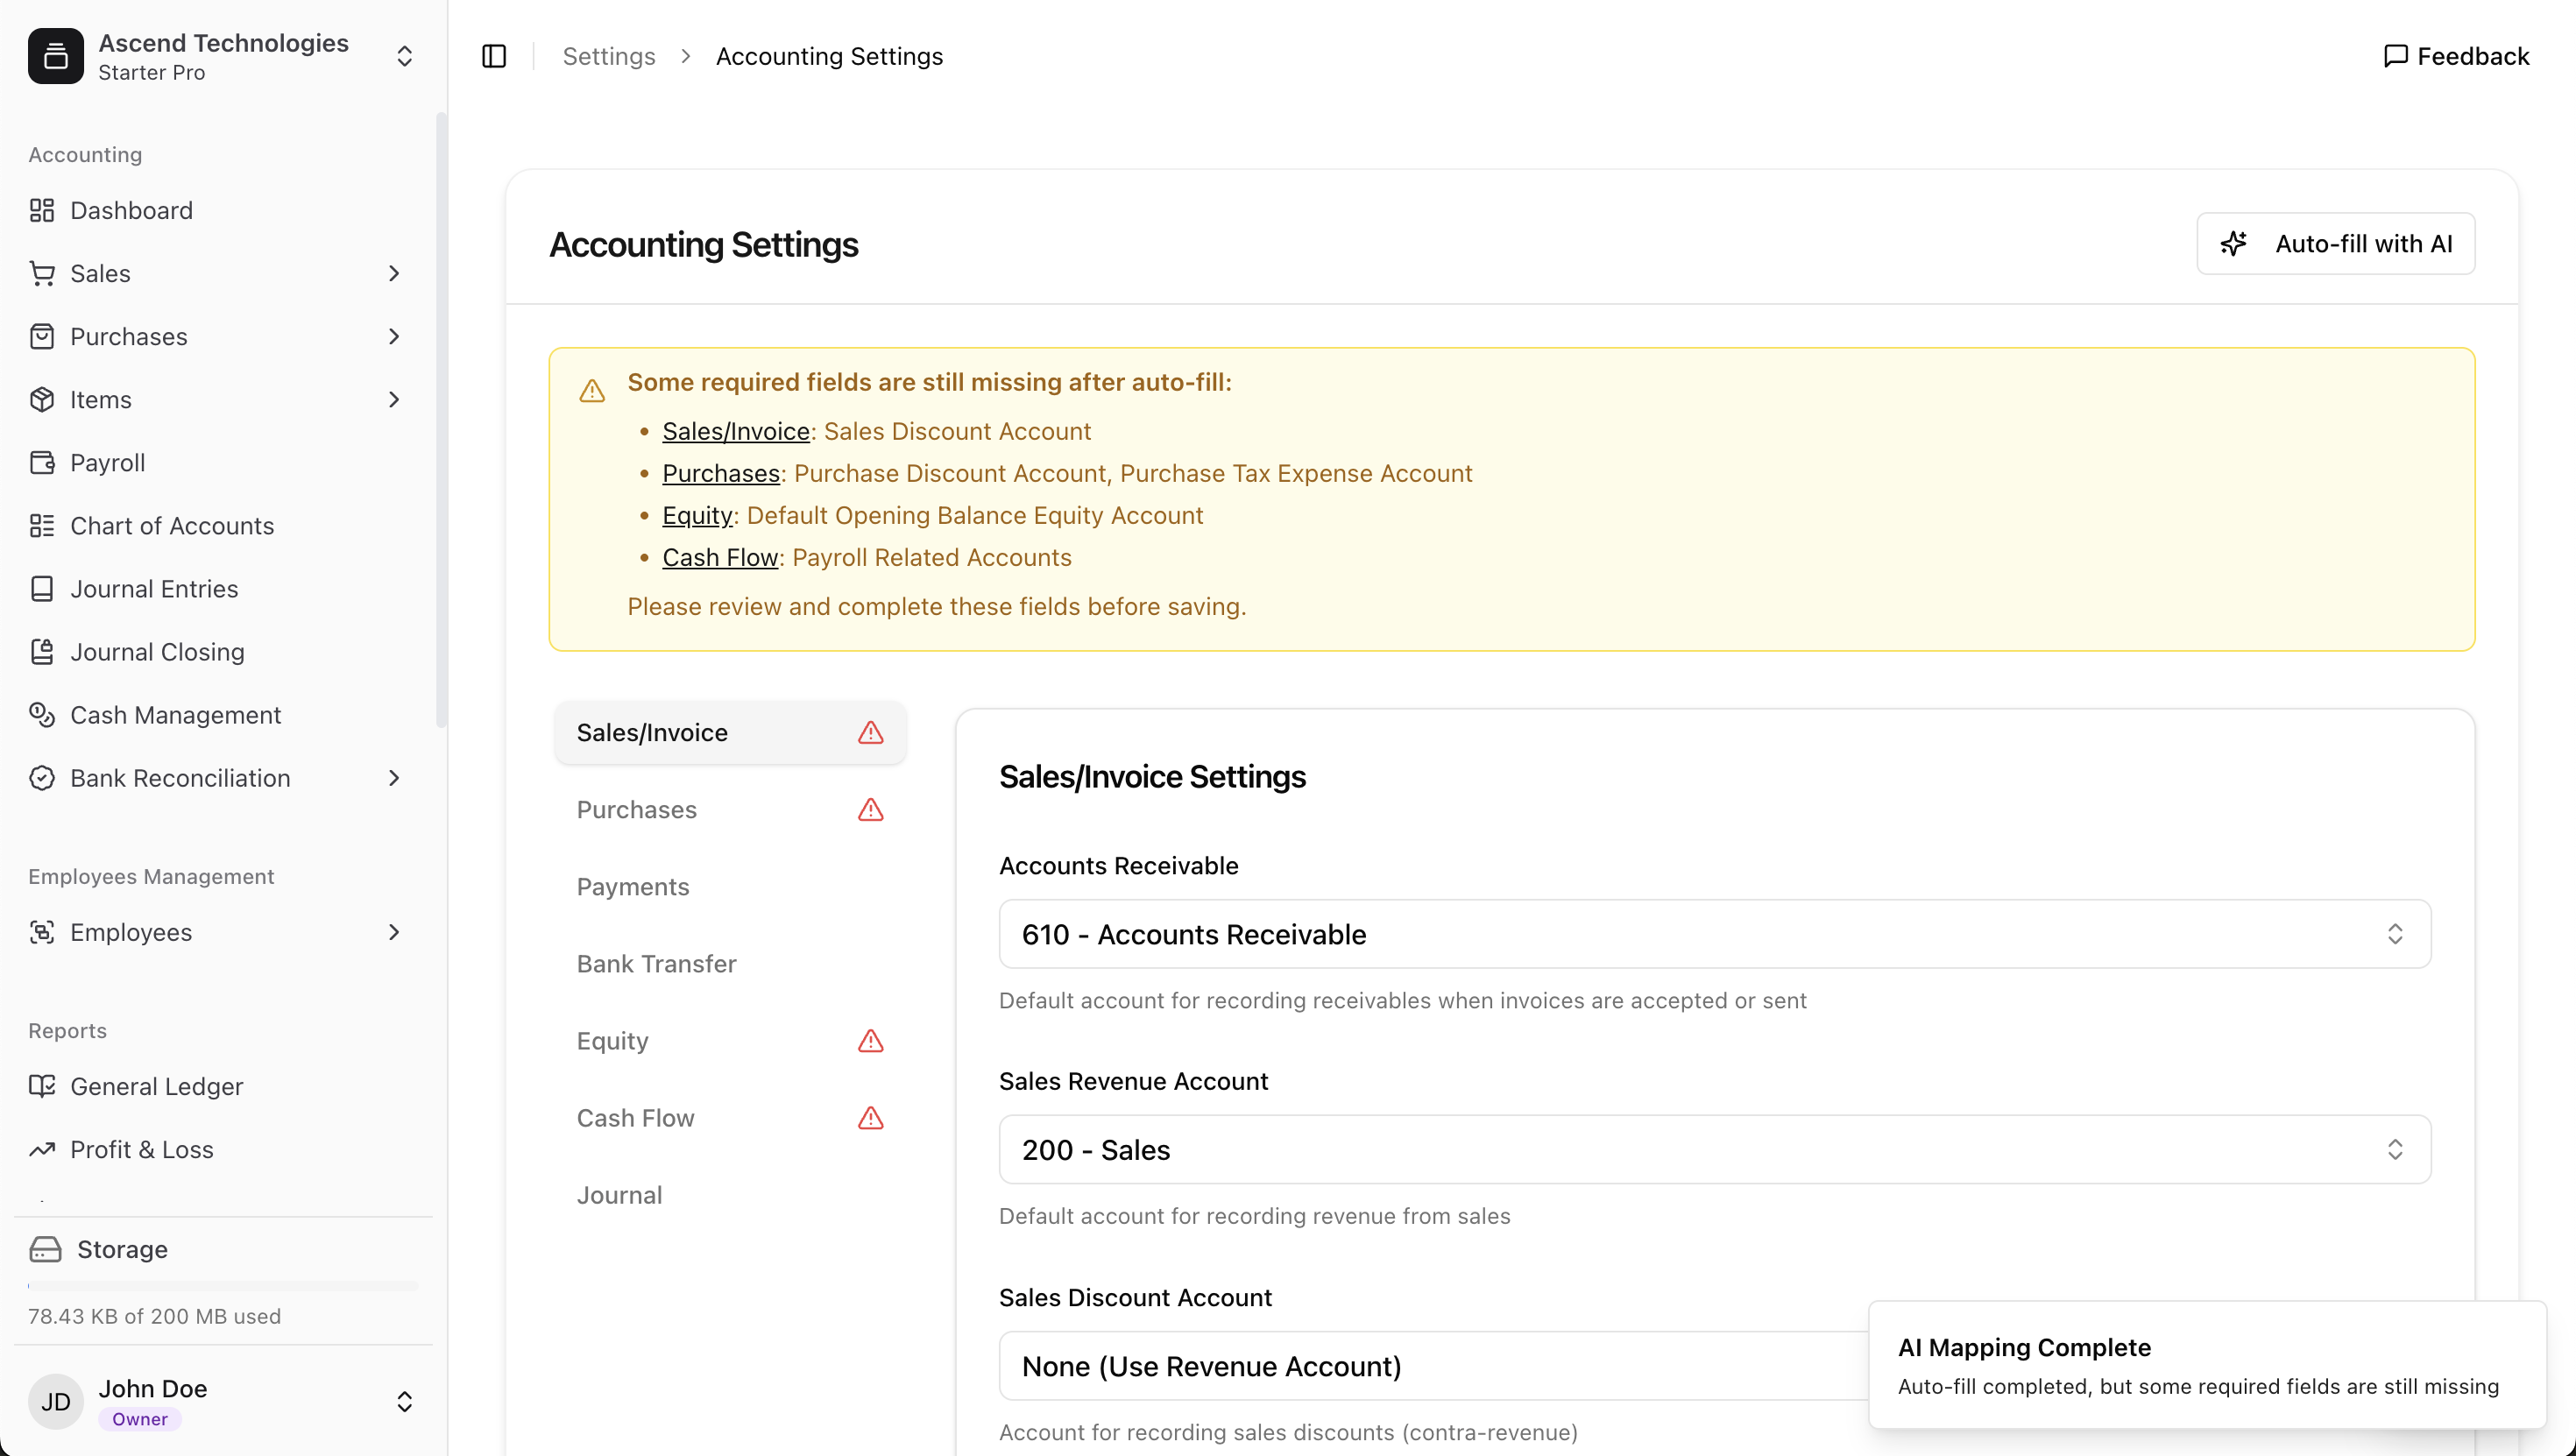
Go through each section and manually select the correct accounts for any fields that are still empty.
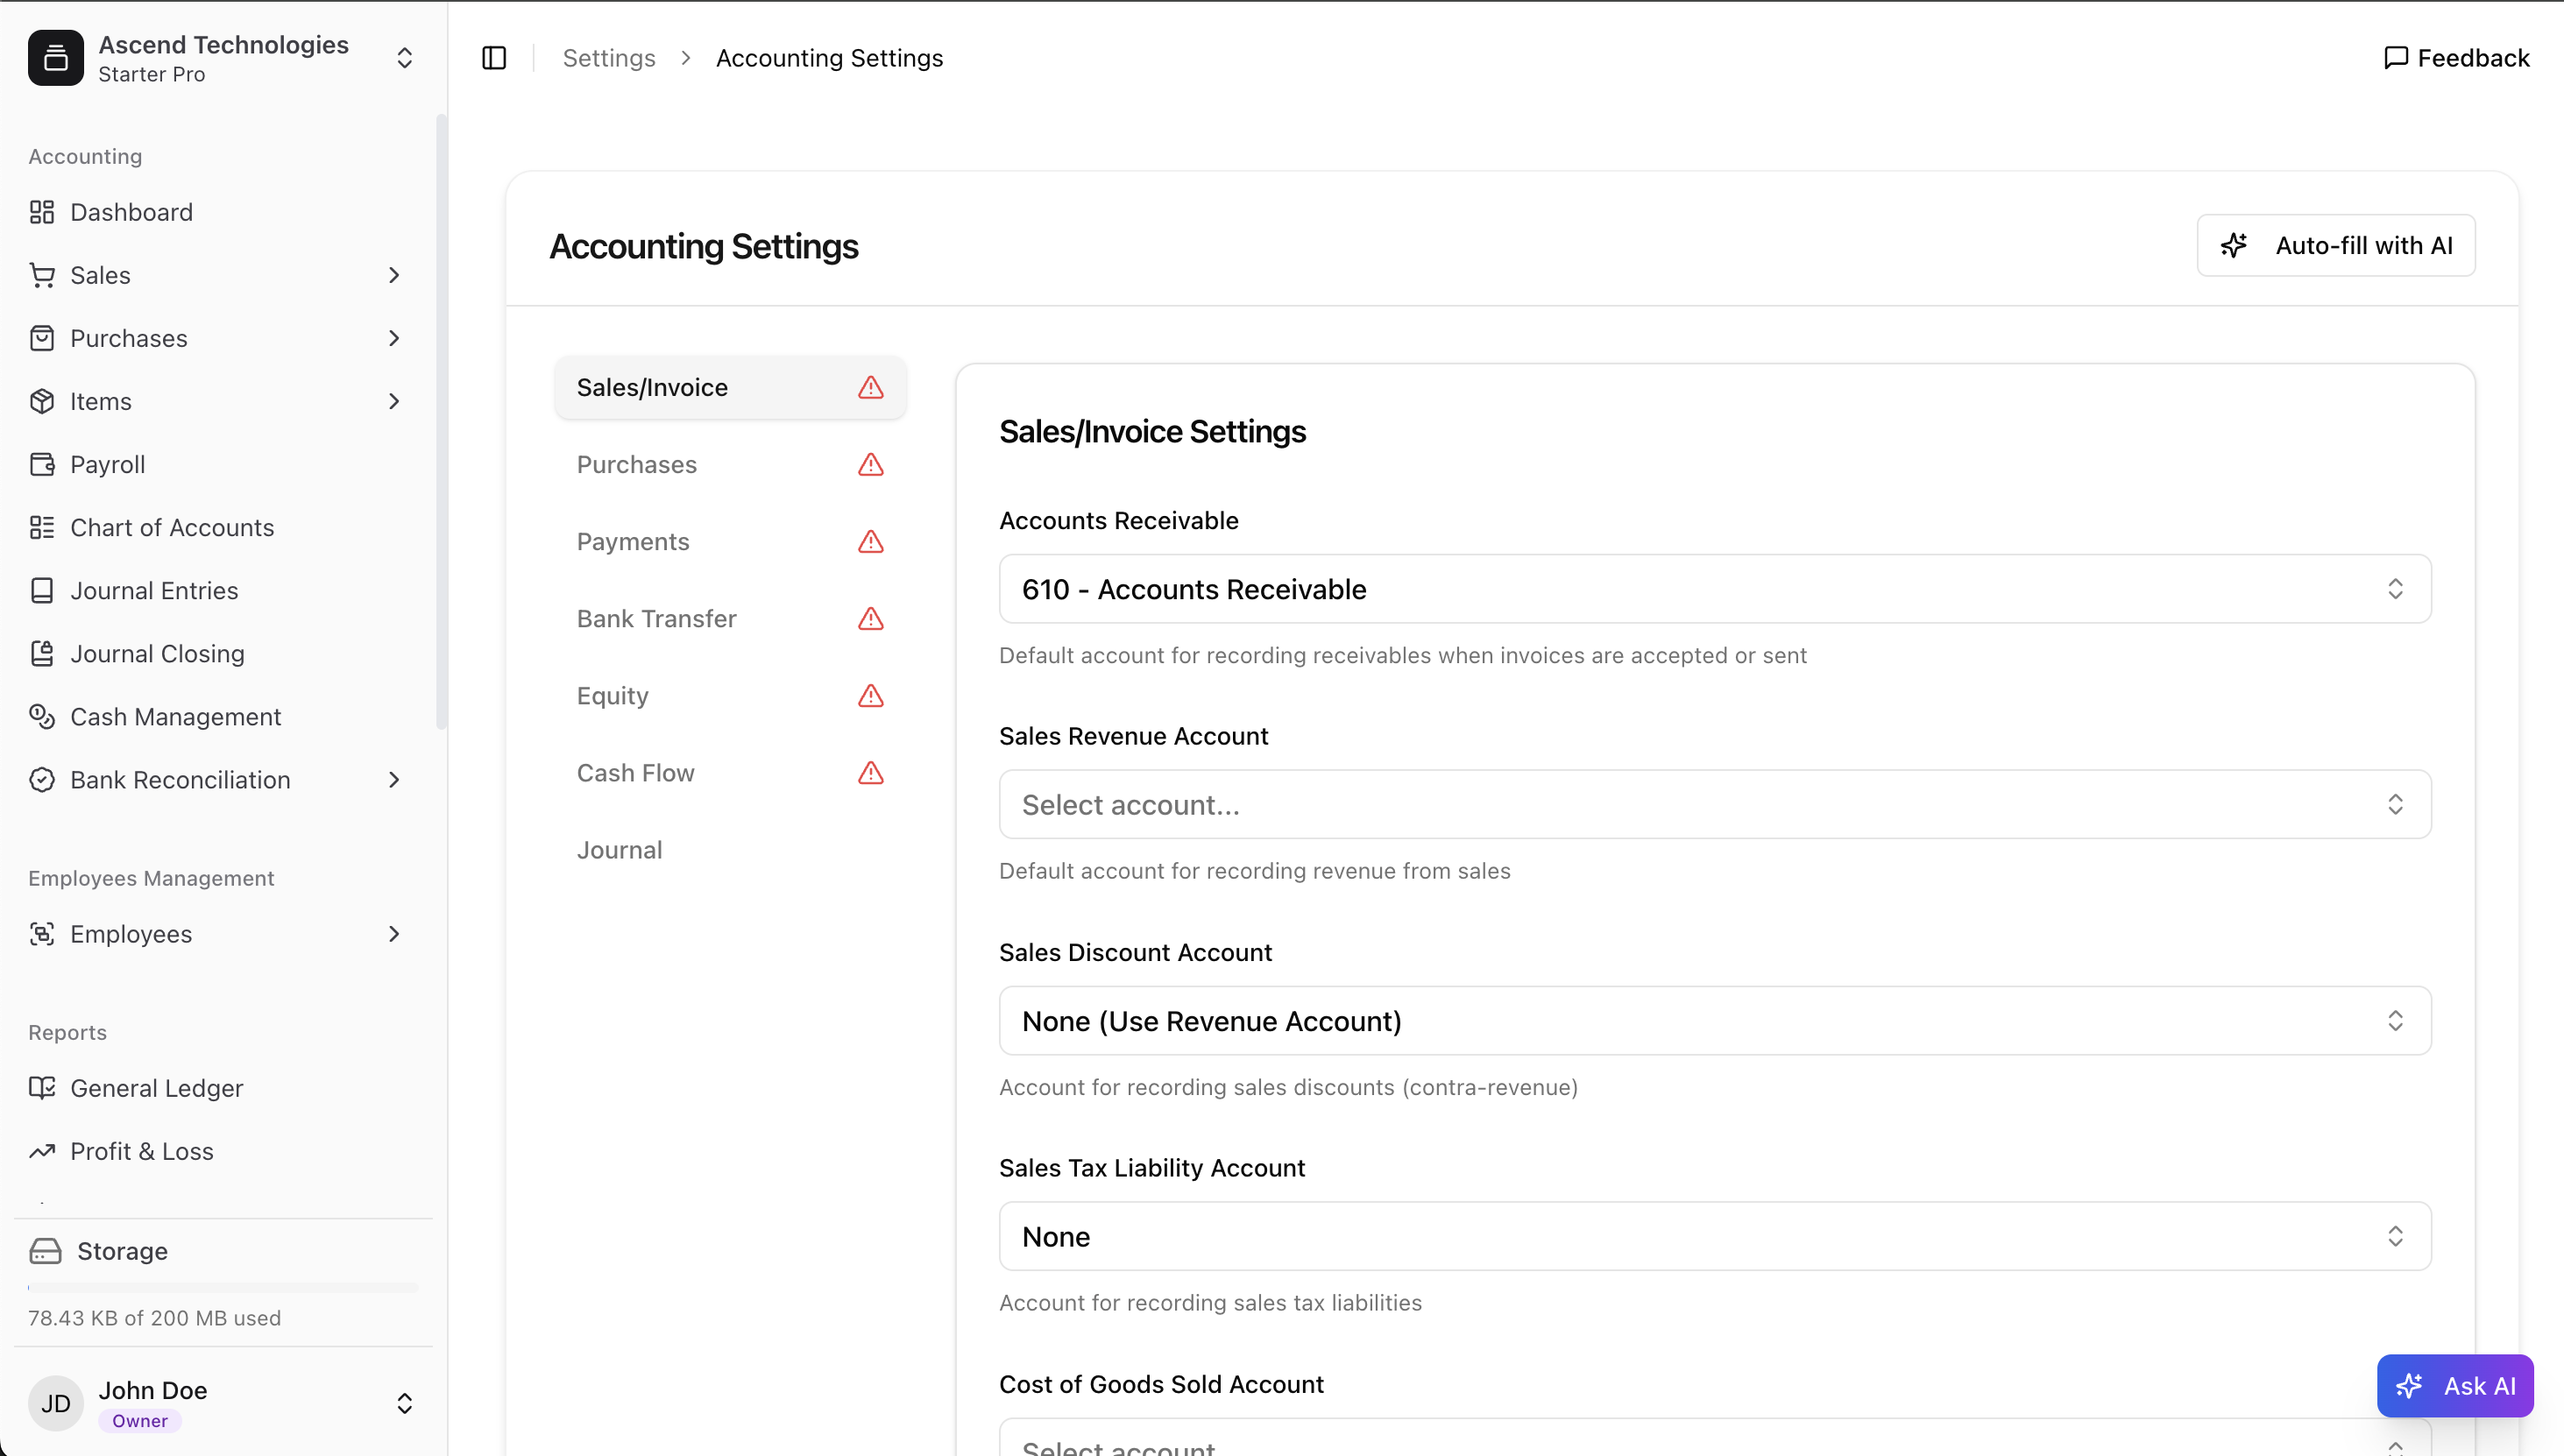
Manual Configuration
If you prefer to set up everything yourself or need to make changes, you can configure each account manually. Simply click on the dropdown for any field and select the appropriate account from your Chart of Accounts. You'll notice a red warning triangle (A) next to any section that has missing required information.
Saving Your Settings
Once you have reviewed every field and are confident that all mappings are correct, remember to save your changes. Your goal is to resolve all the red warning triangles, indicating that your accounting engine is fully configured and ready to go.
What's Next?
With your accounting settings correctly configured, you're ready to start transacting with confidence.